How to Treat a Deep Cut at Home: A Step-by-Step First Aid Guide
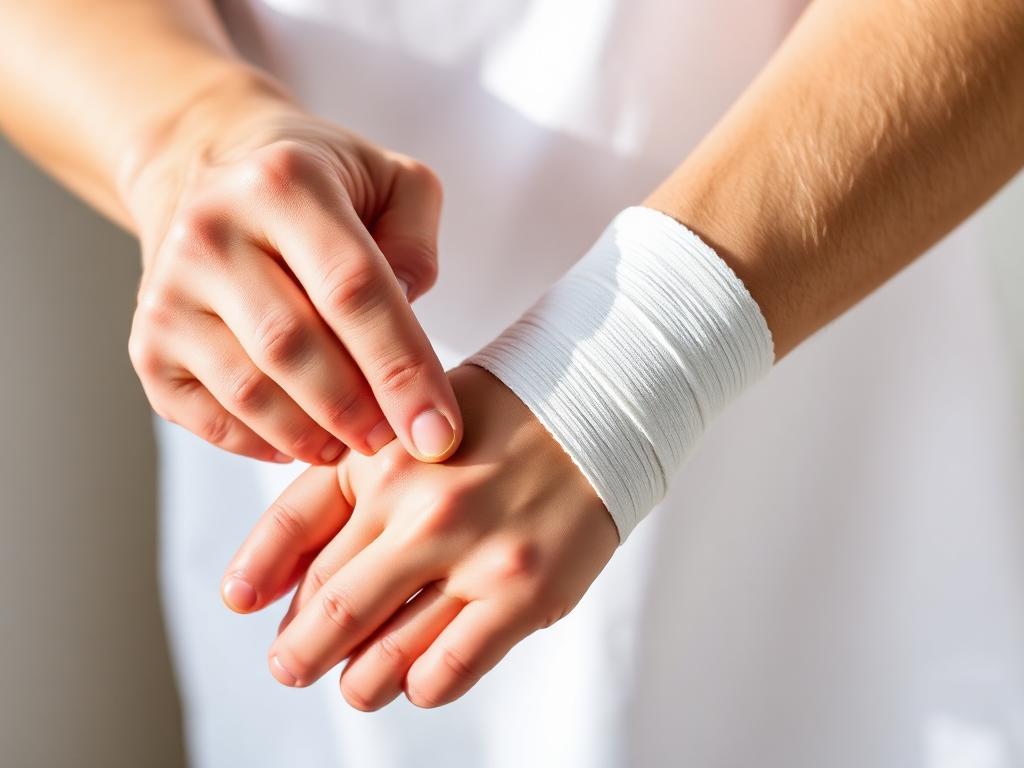
A deep cut can be alarming, but with the right steps you can control bleeding, prevent infection, and know exactly when to head to the ER. Here's the calm, clear playbook every household should know.
Accuracy note: This guide has been written in line with published first aid standards from the American Red Cross and NHS wound care guidelines.
Cuts happen to everyone — in the kitchen, the garden, the workshop, or anywhere life gets a little rough around the edges. Most of the time, knowing how to treat a deep cut at home is all the difference between a minor inconvenience and an unnecessary ER visit. The good news is that with the right steps and the right supplies, you can safely manage the majority of cuts at home. This guide walks you through exactly what to do, what to watch for, and — critically — when a cut is serious enough to need a doctor.
Is It Safe to Treat at Home? Know This First
Before you reach for your first aid kit, take 10 seconds to assess the cut. Not every deep cut can or should be treated at home.
Treat at home if the cut:
- ✓Is less than half an inch (1.2 cm) long
- ✓Has clean, straight edges that stay together naturally
- ✓Has stopped bleeding or slows significantly within 5–10 minutes of pressure
- ✓Is on a non-critical area (finger, hand, arm, leg; not face, neck, or near an eye)
Go to the ER if the cut:
- ✗Is gaping open or the edges won't stay together
- ✗Is deeper than half an inch or you can see yellow fat or white tissue
- ✗Won't stop bleeding after 10–15 minutes of firm pressure
- ✗Is on the face, near the eye, on a joint, or across a knuckle
- ✗Was caused by a rusty, dirty, or animal-related object
- ✗Is accompanied by numbness, tingling, or loss of movement
- ✗Affects a child under 2 years old on the face or scalp
If any of the above apply, stop reading and seek emergency care now. No home guide replaces an ER for a serious wound.
What You Need Before You Start
Having the right supplies within reach makes all the difference. Here is what you need to treat a deep cut at home:
- Disposable gloves — to protect both you and the wound from bacteria
- Clean cloths or sterile gauze pads — for applying pressure
- Saline wound wash or clean running water — for irrigation
- Antiseptic solution or wipes — to clean around the wound
- Antibiotic ointment (such as Neosporin) — to prevent infection
- Butterfly closures or wound closure strips — to hold wound edges together
- Sterile adhesive bandages — various sizes
- Medical tape
- Tweezers — for removing debris if needed
Product recommendation: A well-stocked first aid kit will have most of these already. The BAND-AID Brand All-Purpose Portable Compact First Aid Kit is a solid choice for home use and includes gauze, closure strips, and antiseptic wipes.
If you find your kit is missing key wound-care items, the below are affordable additions worth having on hand.
Step-by-Step: How to Treat a Deep Cut at Home
1Stay calm and put on gloves
Before you touch the wound, put on disposable gloves if you have them. This keeps bacteria from your hands out of the cut and protects you from bloodborne contact. If no gloves are available, use a clean plastic bag over your hand as a barrier. Staying calm matters too — it keeps your hands steady and helps the injured person feel reassured.
2Apply firm, direct pressure to stop the bleeding
Fold a sterile gauze pad or clean cloth and press it firmly and directly onto the wound. Maintain steady pressure for a full 10 minutes without lifting the cloth to check — lifting it interrupts clot formation and restarts the bleeding clock.
If blood soaks through, do not remove the cloth. Add another layer on top and keep pressing.
After 10 minutes, if the bleeding has slowed significantly or stopped, you can move to the next step. If it has not slowed at all after 15 minutes of continuous pressure, this cut needs medical attention.
3Clean the wound thoroughly
Once bleeding is controlled, cleaning the wound is the most important step for preventing infection.
How to clean a deep wound at home:
- Rinse the wound under cool, clean running water for at least 5–10 minutes. This physically flushes out bacteria, dirt, and debris — the single most effective infection-prevention step.
- If debris (gravel, glass splinters, dirt) remains after rinsing, use clean tweezers sterilised with rubbing alcohol to gently remove it. Do not probe deeply into the wound.
- Clean the skin around the wound with an antiseptic wipe or solution. Avoid getting antiseptic directly inside a deep wound — it can damage healing tissue.
- Pat the area dry with a clean gauze pad.
What not to use inside a deep cut
- Hydrogen peroxide — once standard advice but now discouraged by the American Red Cross and NHS because it damages new tissue and slows healing.
- Iodine solutions directly in the wound — same reason.
- Cotton wool — fibres can stick inside the wound.
Product recommendation: A saline wound wash is ideal for irrigation. Medline Skintegrity Wound Cleanser is a convenient spray option that delivers a steady, gentle stream without the pressure of a tap.
4Apply antibiotic ointment
Apply a thin layer of over-the-counter antibiotic ointment (such as Neosporin, Bacitracin, or a generic triple antibiotic ointment) over the wound. This does two things: it helps prevent bacterial infection and keeps the wound moist, which supports faster healing and reduces scarring.
Product recommendation: Neosporin Original First Aid Antibiotic Ointment for Wounds is the most widely used option and available in multipack sizes on Amazon.
5Close the wound edges
For a deep cut, you want the wound edges to stay together to heal properly and minimize scarring. If the edges are close and not gaping, wound closure strips (also called butterfly bandages or Steri-Strips) can hold them together without stitches.
How to apply wound closure strips:
- Make sure the skin is dry; strips won't stick to wet skin.
- Gently bring the wound edges together with your fingers.
- Apply the strip across the wound, not along it, pressing each end firmly onto the skin.
- Apply 2–4 strips evenly spaced along the wound.
- If the wound is longer or the edges keep pulling apart, you may need stitches — see a doctor.
Product recommendation: 3M Steri-Strip are the clinical-grade option used in hospitals and available on Amazon in home packs.
6Cover with a sterile bandage or dressing
Once the wound is closed, cover it with a sterile non-stick dressing or adhesive bandage large enough to fully cover the wound and surrounding area. A non-stick pad is important for deeper cuts — regular gauze can stick to the wound and reopen it when removed.
Change the dressing daily or whenever it becomes wet, dirty, or loose.
Product recommendation: BAND-AID Brand Flexible Fabric Adhesive Bandages are good choices for wound coverage.
7Monitor for signs of infection
The job doesn't end once the bandage is on. Check the wound every day. According to NHS wound care guidance, normal healing involves some redness and mild swelling in the first 24–48 hours — but watch for signs that the wound is infected.
Signs of infection to watch for:
- Increasing redness spreading beyond the wound edges
- Swelling that is growing rather than reducing after day 2
- Warmth around the wound
- Yellow or green pus or discharge
- A foul smell from the wound
- Increasing pain rather than reducing pain after day 2–3
- Red streaking spreading away from the wound (this is a medical emergency — go to the ER immediately)
- Fever above 38°C / 100.4°F
If you see any of these signs, do not wait — see a doctor or urgent care provider.
How to Know If a Cut Needs Stitches
This is one of the most searched questions around wound care, and for good reason. The general rule from first aid guidelines is:
A cut likely needs stitches if it:
- Is longer than half an inch (1.2 cm)
- Has ragged or uneven edges that won't stay together
- Gapes open even when you hold the edges together
- Is on the face, hand, or over a joint
- Continues to bleed after 15 minutes of pressure
- Is deep enough that you can see fat, muscle, or bone
Stitches should ideally be placed within 6–8 hours of the injury. After that window, the risk of trapping bacteria inside the wound increases, and a doctor may choose to leave the wound open to heal from the inside out (a process called secondary intention healing). Do not wait and hope — if it needs stitches, go sooner rather than later.
Tetanus: When Does a Cut Require a Booster?
Tetanus is a bacterial infection that can enter through wounds, particularly dirty or deep puncture-type cuts. According to the American Red Cross, you should check your tetanus vaccination status any time you have a deep or dirty wound.
General guidance:
- If you have had a tetanus booster within the last 5 years: you are likely protected.
- If it has been more than 5–10 years: you may need a booster — check with your doctor or urgent care.
- If you have never been vaccinated or are unsure: seek medical advice promptly.
This is especially important if the cut was caused by a rusty or dirty object, animal bite, or occurred outdoors where soil contact was possible.
How Long Does a Deep Cut Take to Heal?
Healing time depends on the depth, location, and how well the wound is cared for. As a general guide:
Surface healing; full tissue 4–6 weeks
Surface; longer for full strength
May require antibiotics
Keep the wound moist (antibiotic ointment and covered dressing), avoid picking at scabs, and stay out of swimming pools or hot tubs until fully healed to reduce infection risk.
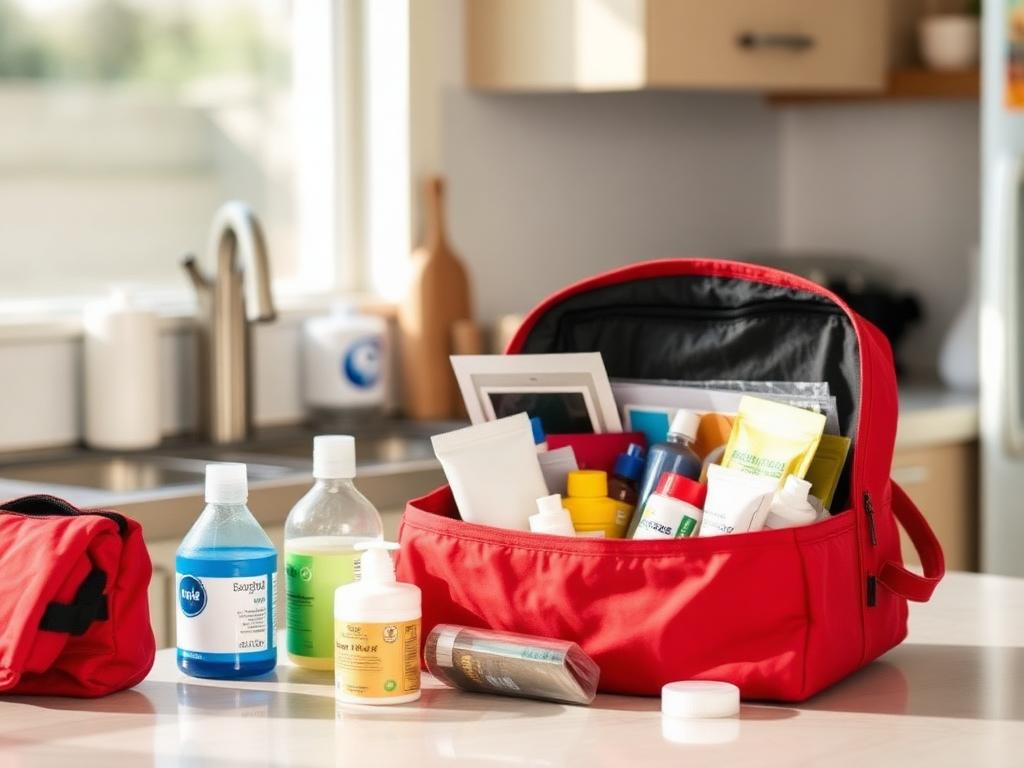
Building a Home First Aid Kit for Cuts and Wounds
The best time to prepare for a deep cut is before it happens. A dedicated wound-care kit at home means you won't be scrambling to find gauze while someone is bleeding.
Essential items for a cuts-and-wounds first aid kit:
| Item | Purpose |
|---|---|
| Disposable gloves | Infection control |
| Sterile gauze pads | Pressure and dressing |
| Saline wound wash spray | Wound irrigation |
| Antiseptic wipes | Clean surrounding skin |
| Triple antibiotic ointment | Infection prevention |
| Wound closure strips / butterfly bandages | Close wound edges |
| Non-stick sterile dressings | Cover without sticking |
| Medical tape | Secure dressings |
| Tweezers | Remove debris |
| Digital thermometer | Monitor for fever / infection |
Product recommendation: Rather than buying each item separately, a comprehensive home first aid kit covers all these bases. First Aid Only 91248 OSHA-Compliant Kit is a well-reviewed option with strong wound-care coverage.
Frequently Asked Questions
+How do you know if a cut needs stitches?
A cut likely needs stitches if it is longer than half an inch, gapes open, won't stop bleeding after 15 minutes of pressure, or is located on the face, hand, or over a joint. When in doubt, visit urgent care — they can assess it quickly.
+What is the best thing to put on a deep cut to stop bleeding?
Apply a sterile gauze pad or clean cloth and press firmly and continuously for 10 minutes without lifting. Elevating the injured limb above heart level also helps. Do not use a tourniquet unless bleeding is severe and life-threatening.
+Can I use hydrogen peroxide to clean a deep cut?
No — while it was once common advice, the American Red Cross and NHS now advise against using hydrogen peroxide inside wounds. It damages new tissue and slows healing. Use clean running water or saline wash instead.
+How deep does a cut have to be to need stitches?
If you can see yellow fatty tissue or white structures beneath the skin surface, the wound is deep enough to need medical evaluation. Half an inch depth is the general threshold, but location matters too — cuts over joints or on the face may need attention even if shallower.
+How do I clean a deep wound at home?
Rinse under cool running water for 5–10 minutes, remove any visible debris with clean tweezers, clean the skin around (not inside) the wound with antiseptic, and apply antibiotic ointment before covering.
+What are the signs of infection in a cut?
Watch for increasing redness, swelling, warmth, pus, a foul smell, increasing pain after day 2, red streaks spreading from the wound, or fever. Any of these signs mean you should see a doctor promptly.
The Bottom Line
Knowing how to treat a deep cut at home — clean it thoroughly, control the bleeding, close the edges, and monitor for infection — is a practical skill that can prevent unnecessary ER visits and support faster healing. The key is having the right supplies ready, following each step calmly, and knowing your limits. When a cut is beyond home treatment, going to the ER quickly is always the right call.
Stay prepared. A well-stocked first aid kit at home is one of the simplest and most valuable investments you can make for your family's safety.
Sources
Stay prepared
Knowing the steps is half the battle — having the right gear is the other half. Browse our kit recommendations next.
Browse Kit Recommendations →Affiliate disclosure: This post contains affiliate links. As an Amazon Associate we earn from qualifying purchases — at no extra cost to you.
Related posts
CPR Steps Every Adult Should Know
Learn the essential CPR steps every adult should know — hands-only and full CPR, AED use, and exactly when to start compressions.

Recognizing the Signs of a Stroke: What to Do and How Technology Can Help
Learn how to recognize the signs of a stroke using the FAST and BE-FAST methods, what to do in the first minutes, and how smartwatches and apps can help detect strokes early.
Johnson & Johnson BAND-AID 160-Piece First Aid Kit Review: Is It Worth Buying in 2026?
Is the Johnson & Johnson BAND-AID 160-piece first aid kit worth it in 2026? Our expert review covers contents, pros, cons, scoring, and who should buy it.